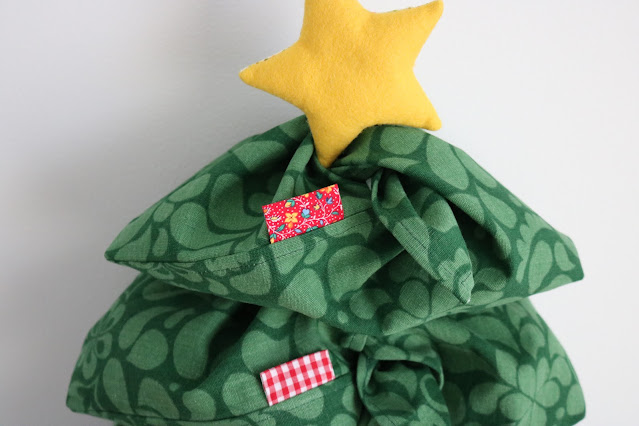
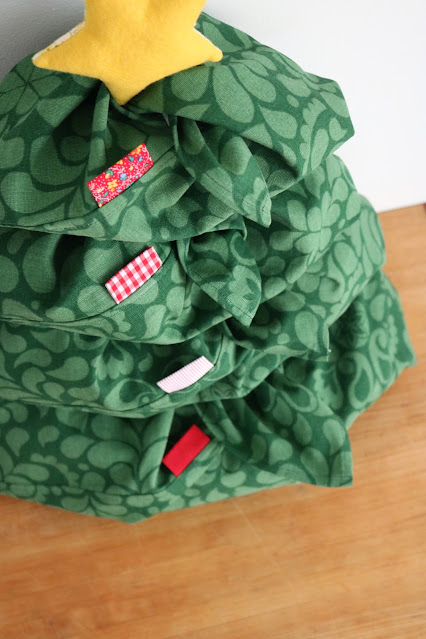
Instructions. Prepare your Wholecloth Project Bag pattern piece as described in the pattern instructions.
Prepare the tag. Cut a rectangle of fabric that is 3" x 2 1/4". Press a 3/4" fold into each short side of the rectangle, so that wrong sides are touching (left diagram). Press. Fold in half perpendicular to the previous folds, so that the edges of the previous folds are hidden (right diagram). Align edges, press.
Attach the tag. Position the prepared tag 1 1/2" from the upper right notch, as shown. Align the open edge of the tag with the raw edge of the main fabric piece. Pin in place. Assemble the Project Bag beginning at step 1 of the Wholecloth Project Bag pattern instructions.
A few notes on how to handle the tag during bag construction:
Step 8 - press the tag seam allowance toward the bottom of the bag on the wrong side of the bag, and press the portion of the tag on the right side toward the bag opening.
Step 10 - Trim the tag seam allowance with the lowers seam allowance in Step 10. Complete the bag as instructed.
Step 14 - be sure the flap of the tag on the right side held clear of the topstitching.
Share your project.
***
Follow Wholecloth Patterns
Etsy: Wholecloth Patterns
Youtube: Wholecloth Patterns
Instagram: @_wholecloth #wholeclothpatterns
Newsletter: Join here
TikTok: @_wholecloth


No comments:
Post a Comment