Ever notice that sewing something to use up fabric scraps, just leads to smaller scraps?! I've been think of the Mini Morris Tote as a great scrap busting project, but after spending many weeks sewing nothing but Morris Totes I'm just left with smaller scraps. So, I challenged myself to come up with an even smaller project to use up some of the beautiful scraps I can't bring myself to part with. Today we'll go step by step through sewing a quilted earbud bag charm. It's a cute, beginner friendly project that's a great way to learn a few new sewing skills and use up even the tiniest scraps. The seam finish and construction method is similar to the Morris Totes, so I'm calling this the Morris Charm.
The Morris Charm has a slip in opening (no hardware necessary) that is just big enough to slide in a headphones case and just snug enough to keep them secure. All of the edges and seams are finished with fabric binding. You can attach it to any bag with the simple hanging loop.
Let's talk about fabric. Any light weight woven fabric will work. I used scraps of a light weight cotton for the main and backing fabric and quilted it together with a single layer of low loft cotton quilt batting. If you don't have batting, don't buy it for this project. You could substitute a couple layers of flannel, or a scrap of sweatshirt fleece. Anything that will give the fabric a bit of body and doesn't have much stretch.
Free Pouch Sewing Pattern Video Tutorial
You can watch the full
Morris Charm video tutorial on the Wholecloth Patterns Youtube channel. Or follow the instructions below.
Earbud Bag Charm Sewing Pattern Instructions
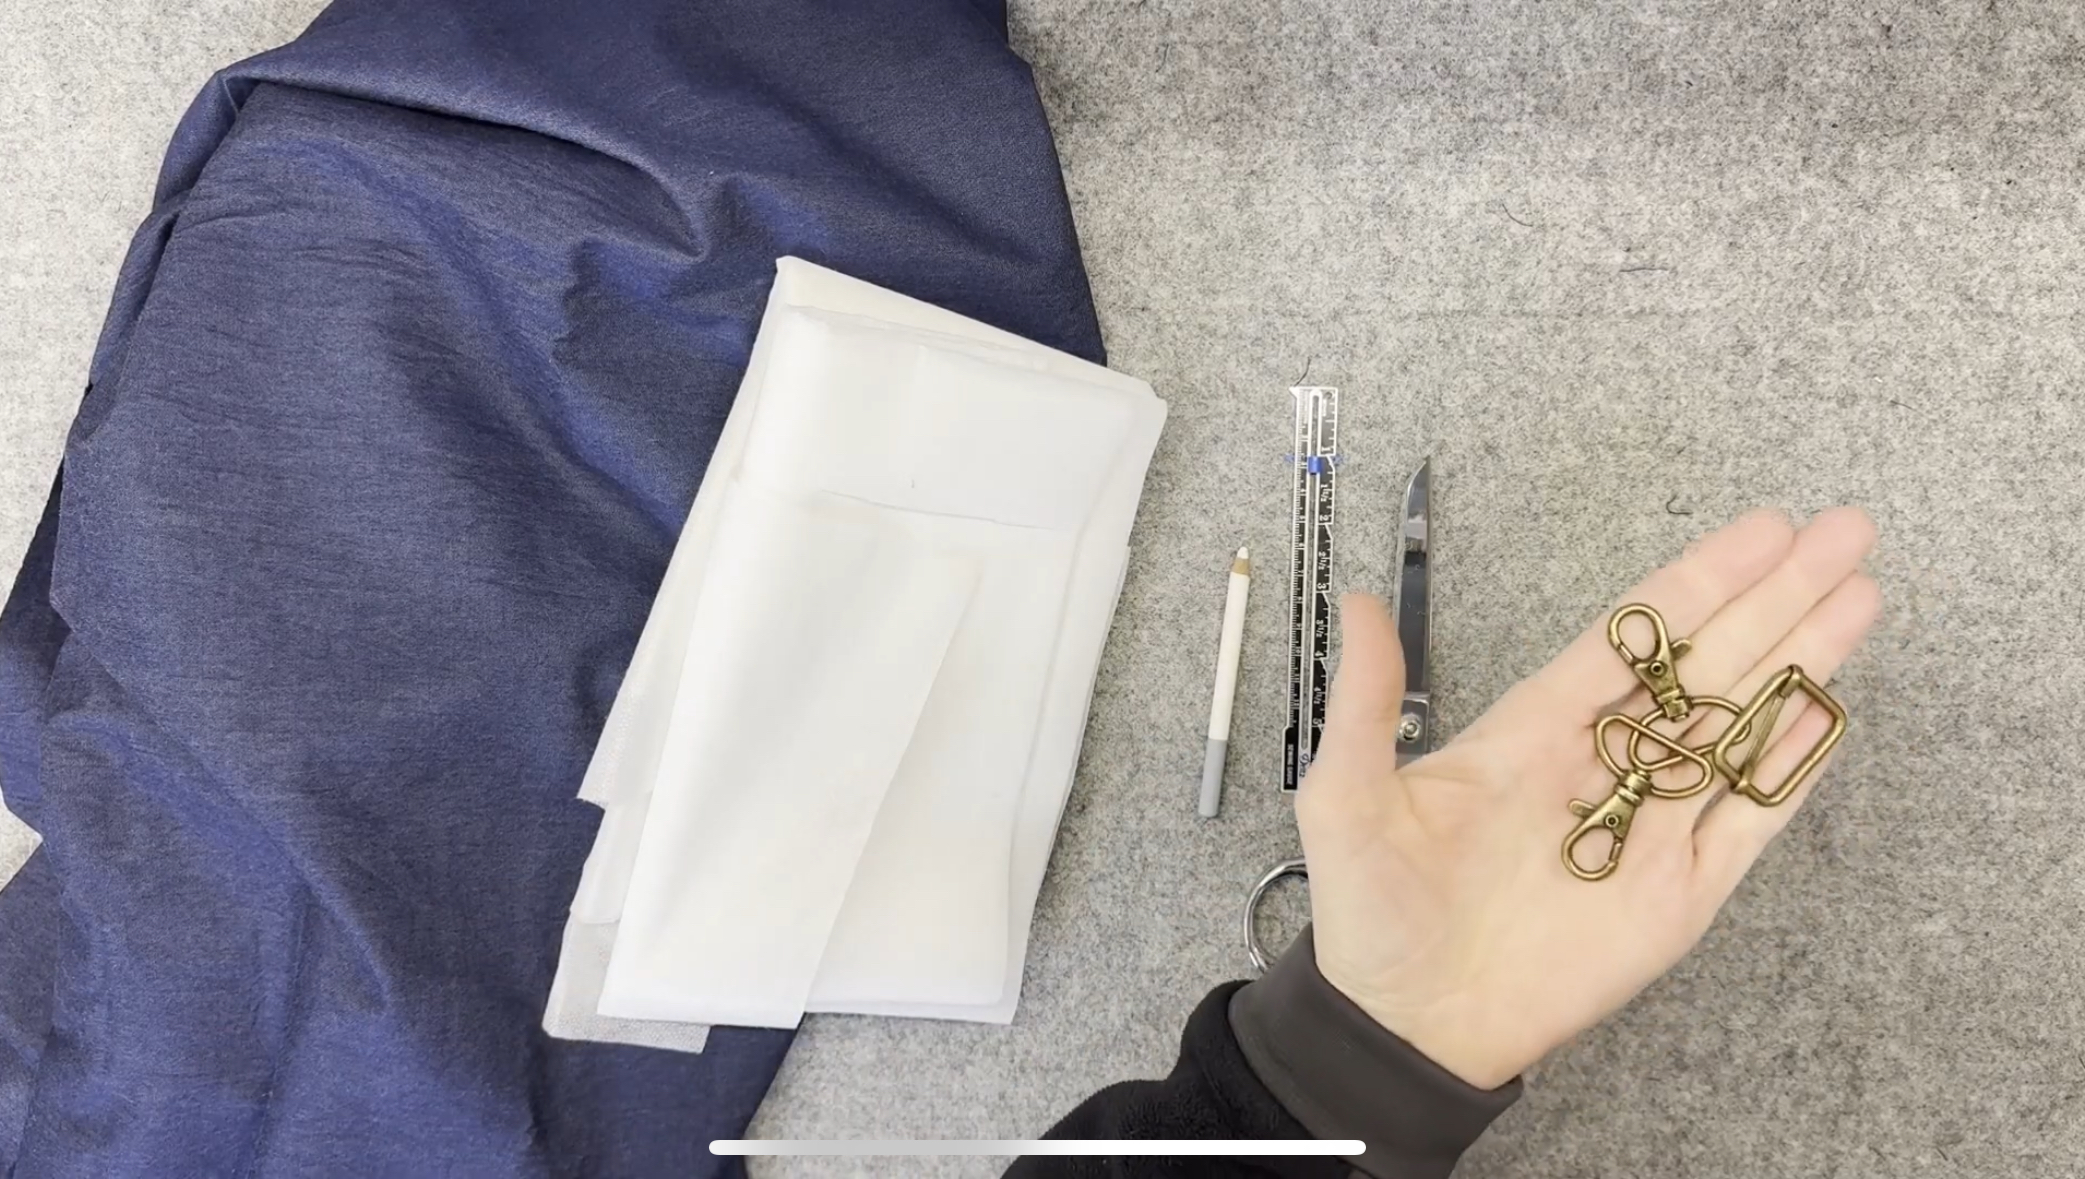
To sew the FREE Morris Charm you will need:
- 20" (51cm) piece of 1/2" (1.3cm) double fold straight grain binding. Make your own with this tutorial.
- 1"x 9" (2.5 x 23cm) rectangle of light weight woven fabric
- 4 1/4" x 7" (11.5 x 17.8cm) rectangle of quilted fabric. You can use pre-quilted fabric, repurpose an old quilt, or make your own with this tutorial.
1. We'll begin by preparing the hanging loop. Fold the strip of fabric in half lengthwise with right sides together, and press the fold into the fabric. Open the fabric back up, and fold each edge, toward the wrong side, so the long edge just touches the first fold. Press these folds into the fabric. Refold the strip along the pressed folds.
2. Sew the hanging loop closed with a line of stitching about 1/8" from the open edge of the hanging loop. It can be tricky to get this narrow strip to travel smoothly through your sewing machine. My solution is to position the strip over one set of feed dogs, and moved the needle over to the desired position.
3. Next we will bind the short edges of the quilted fabric. Cut a strip of the binding that is slightly longer than the short edge of the quilted body. Open up one side of the binding. With right sides together align the edge of the binding with the short quilted edge. Pin in place. Sew along this edge, using a scant 1/2" seam allowance.
4. Press the binding away from the quilted fabric, be careful not to disturb the other binding folds.
5. All the binding to fold over the edge of the quilted fabric. Position the back fold of the binding so that it just covers the previous line of stitching. Pin in place.
5. With the right side facing up, topstitch on the binding, about 1/8" from the seam.
6. Trim the binding so it is even with the edges of the quilted piece. Repeat the binding steps with the other short edge.
7. Find the center point of the long edges. Fold the piece in half lining up the bound edges. Part the center with a pin at each side.
8 Attach the hanging loop. Fold the hanging loop loosely in half. Center the ends along one long edge, aligning the ends with the edged of the quilted piece. The pin marking the center point should be between the two ends, as shown.
9. Shape the pouch. Position the quilted piece with the right side facing up, and the hanging loop along the upper edge. Fold the right edge, so right sides are touching, and the binding edge is centered on the pin. Pin or clip in place along the upper edge.
10. Fold the left edge, so right sides are touching, and the inner edge of the right binding aligns with the inner edge of the left binding, as shown. Pin or clip in place. At this point you can pause and baste this edge together.
11. Attach the seam binding. Cut a piece of binding that is 2 inches longer than the edge of the pouch. Open one side of the binding and align the raw edge with the edge of the pouch, with an even amount of overhang at each end. Sew a scant 1/2" seam.
12. Press the binding away from the pouch, being careful not to disturb the other folds in the binding. Turn the pouch over so the back is facing up. Fold the over hanging ends of the binding around to the back of the pouch.
13. Refold the binding so that it wraps around the raw edge of the pouch. Adjust the binding so that it cover the previous line of stitching. Pin or clip in place. With the right side facing up, topstitch alone the binding about 1/8" from the seam.
14. Position the end of the hanging loop so that it is stitch out of the opening. (This hold the loop out of the way when sewing the next seam.) Repeat the steps to bind the other pouch edge.
15. All that's left to do it turn it right side out, poke out the corners and give it a good press.
17. Done! Share your pouch on instagram with #wholeclothmorris.