 |
| Learn how to make your own quilt binding to use on this cute quilted bag. |
Now that the full size Morris Tote sewing pattern has launched (the big brother of the Mini Morris Tote with a few added features #wholeclothmorris) and the sewalong video tutorial is live, I thought it would be a good time to add to the catalog of skill building videos on the Wholecloth Patterns Youtube channel. If you're a beginner sewer these short videos will help you learn individual sewing techniques that are used to sew garments, quilts, and most especially bags.
Both Wholecloth Morris Totes use double fold, straight grain binding to finish the quilted edges and the seams. This is a classic quilt finishing technique that seemed fitting to use for this quilted bag style. Straight grain binding is simple, sturdy, and as well suited to bag sewing as it is to quilt making. For this design I use double fold straight grain binding because the second fold makes it easier to adjust along the back side of the fabric when you're covering multiple layers of thick quilted fabric. I'm reining in my inner maximalist by using light weight denim for the tutorial because it's easy for the viewer to see the difference between the right side and the wrong side of the fabric. Please let your inner maximalist fly free, the binding is a great opportunity to mix prints, use up scraps and add subtle detail to this simple bag. Check out #wholeclothmorris on Instagram for more binding inspiration, and please share your finished bags there. I would love to see them!
Bias Binding vs. Straight Grain Binding
Both bias cut and straight grain binding look more or less the same, but they have one key difference that determines which one to use for your project. Straight grain binding, as the name suggests is cut along the grain of the fabric, as in the fibers that run the length and width of the fabric. It is very strong, stable, and has no stretch. It lends itself to finishing long straight edges like quilts or rectangular bags, and will create an even line along the edge of your project. Bias binding, also as the name suggests, is cut on the bias of the fabric, meaning it is cut at a 45 degree angle to the grain. This creates a very flexible binding that has quite a bit of stretch. It lends itself to finishing curved edges of garments or bags. The stretch allows it to hug curves without bunching, but can result in a small amount of inconsistency in the width as you push and pull it around curves. Bias binding is used to finish the interior seams for the Wholecloth Fairmount Bag, and you can find my video tutorial for making it on Youtube.
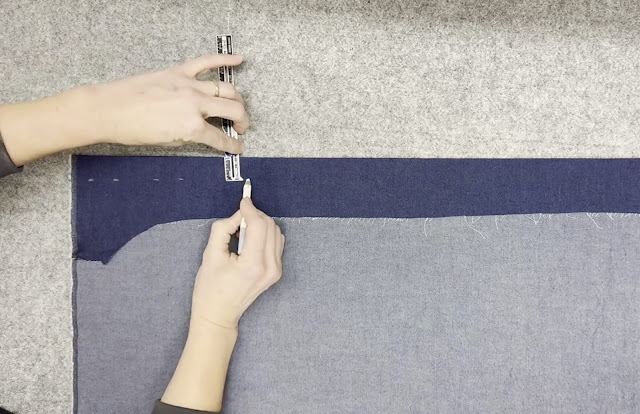
A full How-to Make Your Own Double Fold Straight Grain Binding video tutorial (perfect for learning how to make your own quilt binding too!) is on the Wholecloth Patterns Youtube channel now. Or check out the cliff notes below.
How-to Make Your Own Straight Grain Binding
4. Join strips for longer binding.
Follow Wholecloth Patterns
Youtube: Wholecloth Patterns
Instagram: @_wholecloth #wholeclothpatterns
Newsletter: Join here
Etsy: Wholecloth Patterns


No comments:
Post a Comment